
Materials:
11” x 17” Canvas
White Acrylic Paint https://bit.ly/3ixFqan
Paint Brush https://bit.ly/3x037fj
Hexagon Punch https://bit.ly/3pqb6jl
Bearly Art Precision Craft Glue https://bit.ly/34OHXov
Paper Accents Chipboard Wreath Ring
Carta Bella God Bless America 12” x 12” Paper Pack https://bit.ly/3fUvsOw
Surebonder Glue Sticks https://bit.ly/3uSmllp
Glue Gun https://bit.ly/2RpsXtV
EK Success 1” Circle Punch https://bit.ly/3fUMxYx
Tim Holtz Titanium Shears 9.5” https://bit.ly/3ifdmZ4
Cricut Paper Trimmer
Scoreboard https://bit.ly/3ckWCvs
1. Paint the canvas and the chipboard wreath circle with white acrylic paint.


2. Once your paint is dry, adhere the blue hexagon shapes to the top left corner of the canvas to represent the blue field of an American Flag. Fit the hexagons together like puzzle pieces, but some in half to make the pattern.

3. Now place 6 ½ rows of red hexagons along the top of the canvas, also cutting hexagons in half as needed to complete the stipe.
4. Skip 1 row (about ½ width of a hexagon) leaving the white canvas showing and repeat step 3.
5. Continue this pattern down the remainder of the canvas. (Yes, this is not an authentic representation of the American Flag. I’m aware there isn’t enough stripes or the correct proportions. This is merely a decorative piece to loosely represent the American Flag.)
6. Choose one sheet of patterned cardstock that has a front and back side that you like. Cut 11 3/4” strips of varying width for paper rosettes. I chose ¾” to 1 ½” strips for different size rosettes.
7. On each 11 3/4” strip of paper, score every ¼”. Fold and burnish in a fan or zig zag design along each score line.

8. Using Bearly Art Precision Craft Glue, adhere the two ends of each of your zig zag folded strip to itself. You should be able to adhere the end of a mountain to the end of a valley.
9. Using a 1” circle punch, punch approximately 10 circles from heavyweight white cardstock for the backs of the rosettes.

10. Drop hot glue or Bearly Art Precision Craft Glue to the white circle and affix your rosette onto the circle to the desired diameter.
11. Again, using the 1” circle punch, punch approximately 10 circles in patterned cardstock for the front of the rosettes.
12. Using hot glue or Bearly Art Precision Craft glue, adhere the rosettes to the chipboard wreath circle.
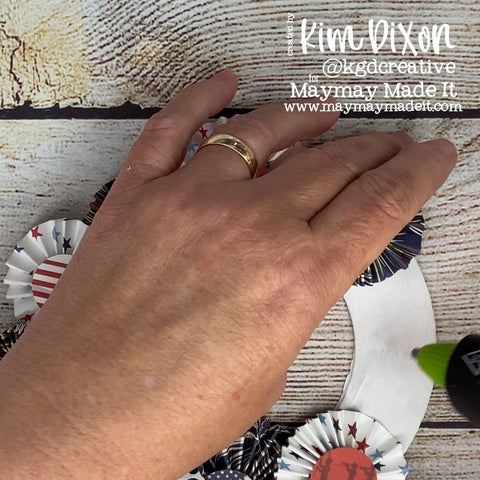
13. For added dimension, place several pieces of Scotch Double Sided Foam Mounting tape to the back of the chipboard wreath circle and adhere in the blue area of the canvas.
