
This is Brenda @mscraftprincess. I am here today with a pinwheel card. It is easy to make, and provides an opportunity to use some of your pretty patterned paper or you can stamp and color images, if desired. It folds down to 4 ¼” x 5 ½” and fits in an A2 envelope. The recipient of this card will absolutely love it. I hope you will give this card a try. Let’s get started!
Materials:
Heaven Scent stamp set https://bit.ly/3B3QvWH
We Just Fit stamp set
12x12 sheets of decorative paper sheet from the Autumn Gingham Dots and Stripes paper https://bit.ly/3mppDwf
White 110 lb. cardstock. https://bit.ly/3pxcoZU
Scoring board https://bit.ly/3xKsrX6
Teflon Bone Folder by Tonic Studios https://bit.ly/3vroXsa
Paper Trimmer https://bit.ly/3h5WUIx
Bearly Art Precision Craft Glue https://bit.ly/3rUZHs4
Scrap ribbon (Optional)
Circle punch https://bit.ly/3xUUeDQ
Cutting Guide:
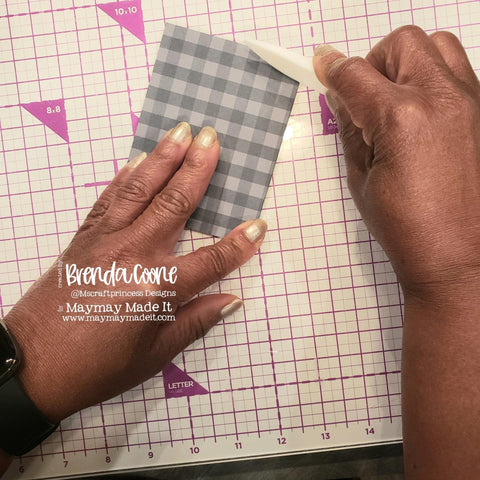
Cut 1 sheet of decorative paper at 4 ¼” x 4 ¼ “
Cut 4 sheets of decorative paper at 2 ½” x 4” .
Cut additional 4 additional panels of the same decorative paper at 1 ½ “ x 4”
Cut 4 white cardstock panels at 2 ¾ “ x 4 ¼ “


Assembly instructions:
--Cut all of the paper and cardstock
Score the 4 ¼ “ x 4 ¼” sheet at 1”, 2”, 3”, and 4”. Burnish the score lines and add glue to the small panel to create a column. The column will be 4 ¼ “ X 1”.


--Glue the decorative 2 ½ “ x 4” to the white cardstock panels.
--Stamp the images and color them. Also, use white strips to stamp the sentiments. You can stamp the sentiments direct to the decorative sheets, but I did not like the look.


--Fussy cut the images and glue them and the sentiments to the panels.
--Glue the white cardstock panels to each side of the column. This forms the pinwheel.

--Take the 1 ½” x 4” decorative papers and glue them to the white portion of the panels that’s showing. This step is optional, of course, but I chose to decorate these panels.
--I made a small pocket with some of the decorative paper measuring 2 ½ “x 1 ½“.
--I used a circle punch to notch the pocket. The pocket can be used to slide in a gift card or some money.
--Every card needs a sentiment and a place to sign. Use a scrap of paper 2” x 3 ½ “ to stamp my sentiment.
--The scrap ribbon was folded and stapled at the top so the paper is easy to pull out of the pocket.
